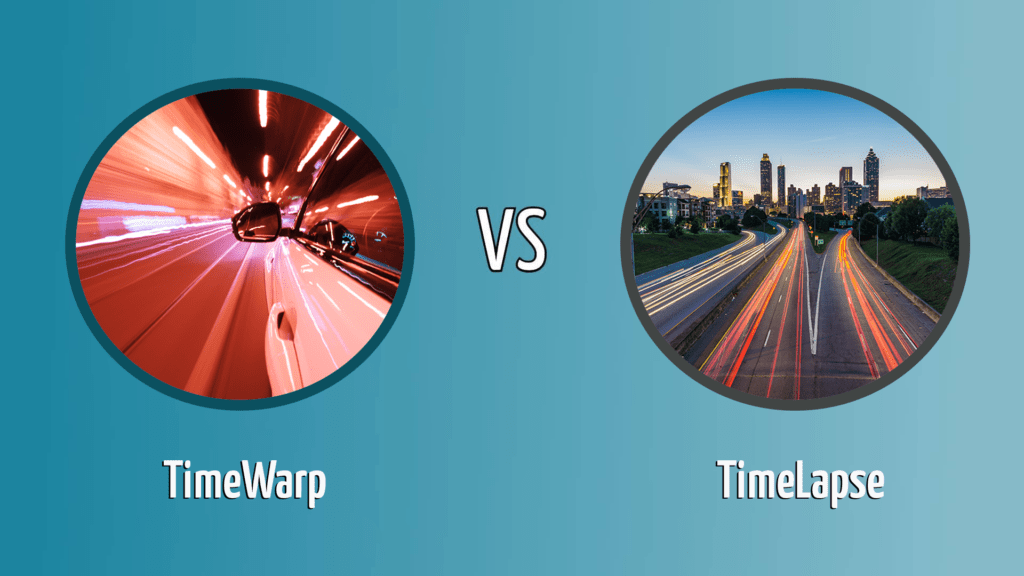
Что такое TimeWarp в TimeLapse-фотографии?
Главная -> Статьи -> Что такое TimeWarp в TimeLapse-фотографии?
Опубликовано: Эркан Йигитер

Вы изучаете съемку в стиле TimeLapse? Вы хотите расширить свои познания и навыки в создании художественных и неподвластных времени видеороликов, которые показывают красоту жизни сквозь время? Что ж, вы, несомненно, попали на нужную страницу, особенно если вам интересно использовать TimeWarp. Одна из самых увлекательных техник фотографии, которую фотографы используют, чтобы дать миру представление о времени, — это TimeLapse. Люди, которые смотрят видеоблоги и даже фильмы, наверняка знакомы с видеороликами, которые показывают быстротекущие процессы в определенном сценарии, чтобы показать течение времени. Эти видеоролики создаются путем объединения серии изображений, снятых с определенным интервалом, и называются съемкой TimeLapse.
Гиперлапс (HyperLapse) фотография
Проблема с традиционным TimeLapse заключается в том, что ваша камера должна оставаться в одном месте. Если вы захотите добавить движение в эту технику, вам понадобится это изменить, добавив гиперлапс. Вы можете сделать это, сделав кадры TimeLapse, а затем дополнить их, снимая перемещения и изменения ракурса. Вы также можете деформировать и изгибать сценарий, используя различные виды движения, создавая таким образом этот «гипер» эффект.
Создание гиперлапс видео может показаться утомительным, но как только вы его создадите, результат будет вознагражден. TimeLapse-видео с эффектами гиперлапса, безусловно, потрясающие, так что вы определенно захотите сделать их еще.
Представляем TimeWarp
Если вы хотите улучшить TimeLapse с помощью гиперлапс фотографии, то вам нужен режим съемки, называемый TimeWarp. Этот режим лучше всего использовать, если вы хотите добиться эффекта гиперлапса в своих видео. Это достигается путем фотографирования с использованием техники длинной выдержки, чтобы запечатлеть движения объекта в определенный период времени.
TimeWarp позволяет фотографам снимать замедленное видео с большой стабильностью во время движения по сценарию. Эти видеоролики снимаются с большой скоростью, чтобы сжать длительные действия в файл меньшего размера. Если у вас в камере есть режим TimeWarp, вы можете просто выбрать нужную скорость съемки, а фотоаппарат сам обработает ваши кадры.
Этот метод идеально подходит, если вы хотите запечатлеть занятия на свежем воздухе, например, катание на сноуборде, велосипеде и даже автомобильные гонки. Камера может быть прикреплена к телу гонщика или игрока так, чтобы весь процесс был зафиксирован на пленке. Преимущество TimeWarp в том, что все видеофильмы, которые создаются с его помощью, имеют стабильное изображение с высоким разрешением, несмотря на быстрые и неустойчивые движения.
Чем он отличается от обычного TimeLapse
Если вы хотите узнать, чем отличается TimeWarp от TimeLapse, обратите внимание на следующее:
TimeWarp более стабилизирован, в то время как TimeLapse требует стабилизации.
При съемке в режиме TimeLapse вам необходимо использовать штатив, чтобы камера оставалась неподвижной. Это связано с тем, что ваше оборудование должно быть неподвижным, чтобы получить идеальную сцену.
С другой стороны, TimeWarp даст вам стабильные снимки даже в движении. Этот режим, созданный для стабильной съемки перемещений, обеспечивает четкие и высококачественные фотографии, даже если камера продолжает двигаться.
TimeWarp используется для перемещающихся объектов, а TimeLapse — для неподвижных сцен.
Обычно TimeLapse используется для съемки очень медленных процессов, чтобы ускорить их в видео, таких как восход солнца или рост растений. Стабильность ракурса нужна для плавных переходов в фильме, поэтому камеру нельзя двигать во время съемки.
А TimeWarp идеально подходит для съемки движущихся объектов, например, машины на дороге или велосипедиста в движении. Все сцены будут сняты без размытия, которое обычно возникает из-за перемещения камеры.
В целом, TimeWarp позволяет добавлять движения в TimeLapse для создания художественного эффекта. Он понадобится вам, если вы хотите снимать динамичные движения для TimeLapse.
Советы по достижению эффекта гиперлапса
Чтобы добиться идеального гиперлапса с помощью TimeWarp, вы можете использовать следующие советы:
- Не используйте камеру с объективом, который дает сильные искажения, чтобы избежать их при пост-обработке изображения.
- Делайте изображения в формате RAW, чтобы лучше контролировать пост-обработку.
- Используйте полностью ручной режим съемки, чтобы избежать мерцания.
- Используйте ручной баланс белого для равномерного цвета во всех кадрах.
- Снимайте с максимально широким фокусным расстоянием, чтобы получить больше ракурс при стабилизации.
- Выберите подходящую выдержку для достижения желаемого результата.
Использование MIOPS Smart +
Если вы хотите снимать видео в стиле TimeWarp, но у вашей камеры нет такой функции, то вам нужно найти гаджет, который ее улучшит. Есть много дополнительных аксессуаров, которые могут вам пригодиться, и вам просто нужно выбрать тот, который с ней совместим.
Активатор камеры MIOPS Smart + отличное и универсальное устройство, которое поможет вам добиться эффекта гиперлапса. Он поддерживает не только съемку TimeLapse, но также предлагает и другие расширенные функции, такие как TimeWarp, которые могут помочь фотографам придумывать более широкий спектр эффектов и трюков.
Этот активатор определенно превратит вашу камеру в современный гаджет для быстрой съемки. Помимо TimeWarp, у него есть другие режимы активации (лазером, звуком, вспышками молний), HDR, которые позволят вам снимать высококачественные фотографии.
Активатором MIOPS Smart + можно управлять с помощью смартфона. Все, что вам нужно сделать, это загрузить мобильное приложение, которое подключается к вашей камере с помощью беспроводного соединения, например Bluetooth. Таким образом, даже если вы находитесь далеко от фототехники, все равно можете управлять съемкой в соответствии со своими предпочтениями.
Timewarp vs Timelapse: A Beginners Guide For When To Use What
Tips for capturing cinematic footage with your GoPro Hero 9

Waking up with the sun is one of the best habits I try to implement. It’s not so much about being the early bird and catching the first worms. For me, it’s time to warm up and ease into the day ahead.
I have a GoPro Hero 9 and setting up a time-lapse, to capture the elegance of a sunrise is a fun activity to add some playfulness to the morning.
Initiating a timewarp, if I’m going for a run- allows me to speed up a 5k so that it’s interesting, and fast-paced, to grip the attention of someone should I wish to share it.
Knowing when to use a timelapse, and when to use a timewarp has impacted how I go about filming, but it has made the editing version of myself have a great time when it comes to adding the moments to music.
This article is for a beginner who is unsure of the difference between a GoPro TimeWarp and a GoPro Timelapse. I’ll explain the difference as well as give a few tips on how I use them for a cinematic feel to my videos.
GoPro Time Lapse vs TimeWarp
You may recognize the term time-lapse from cinematic videos with mindblowing sunrises and sunsets.
At least, that’s how I was first introduced to time-lapses.
To take a time-lapse, you place your GoPro on a stabilized surface or mount that will remain stationary for the duration of your shot. So, under Time Lapse settings, you select how often your GoPro takes a photo. My GoPro has interval options between 0.5seconds and an hour.
The GIF below shows a snippet of a GoPro Time Lapse at a 0.5s interval, 4k, and a Wide lense. This was sped up in editing by 1000%.
A GoPro Time Lapse is most effective when your GoPro is on a tripod or on a still surface. It captures shots over a duration of time, and what we perhaps wouldn’t normally see, because of change being too gradual, we are now able to experience in a short period of time. This is maybe why a sunrise time-lapse, or a sunset time-lapse feels so magical.
I personally use GoPro Time Lapse for showcasing the following:
- Sunrise/ Sunset/ Clouds,
- The buzz of the city awakening/ cooling down,
- Something growing,
- Something rising.
My rule of thumb is that there is a clear before and after. The time-lapse documents the change.
A time-warp is different.
You are able to incorporate movement and still achieve a somewhat stable shot. GoPro defines their TimeWarp feature as:
TimeWarp is HyperSmooth applied to TimeLapse Video. It allows you to Capture super stabilized time-lapse videos while you move about a scene. Increase the speed up to 30x to turn longer activities into shareable moments.
In cases where there can be a temptation to record too much slow-motion to introduce a cinematic feel to a video, it’s often fun to throw in a little bit of a fast forward instead.
Also, when using slow-mo, there is often an emphasis on capturing a variety of different angles to keep things interesting. With a timewarp, things are a lot simpler. You can either have someone follow you, you follow someone else, or you deciding to attach the GoPro to an accessory as you move in a direction.
I have used GoPro TimeWarps to showcase:
- Linking two scenes together,
- Running,
- Cycling,
- Walking,
- A quick tour of a building,
- Revealing an object,
- Pulling away from an object.
Again, my basic rule of thumb is to use a timewarp to add a different feel to a video. What I mean by this is that a timewarp is fantastic in speeding up an activity that isn’t interesting enough to consume at a normal speed. Or, when you’ve used so much slow motion that your video is begging for a different feel.
A tip that you may find interesting, is that I usually add a timewarp to a specific build in a song. This has increased the energy and pace in some of my vlogs.
I’ve also seen timewarps used in travel videos to speed up the journey from arriving at a location to identifying a specific tourist attraction.
So where I use a time-lapse to show a before and after, I often use a timewarp to showcase an activity's start and finish.
Final Thoughts
Personally, I use both a GoPro TimeWarp and Time Lapse to link scenes in a larger video.
However, a Time-Lapse could be a cinematic start to a video too. Or, a TimeWarp could pull you into a video at the start as well. There are really no set rules of how and when to use either. I try to challenge myself to play around with how I use both the timewarp and time-lapse so that I don’t get too stuck in a rut.
But if I had to choose, I find the time-lapse to be epic for establishing shots and a timewarp to be brilliant to speed up an activity that takes a little too long.
Both add to the overall feel of a video, but yet they are so different. So if you find yourself getting confused, a simple rule of thumb is- Time Lapse is where your GoPro is stationary and capturing the before and after of a scene, and Time Warp allows you to incorporate movement while filming an activity.
I hope you found this helpful and all the best with your GoPro Time Lapse and TimeWarp shots.
GoPro TimeWarp vs. TimeLapse: What’s the Difference? (With Pictures)
Maybe you’re going through your new GoPro features and trying to figure out what each one does, or perhaps you’re trying to decide which GoPro you need. Two of the most popular features are TimeWarp and TimeLapse.
These similar features enable you to capture long events and highlight them in one short video. But while they’re similar, they’re not the same thing. They capture events differently, and you’ll want to use them in different ways.
It can all be confusing at first, but don’t worry. We walk you through everything that you need to know to help you make an informed decision, whether it’s about which one to use or which one you need.
Overview of GoPro TimeWarp
If you’re new to TimeWarp, the general idea is getting a smooth video in fast forward. GoPro smooths everything out, and you get to see everything that’s happening in a shorter time than the actual event.
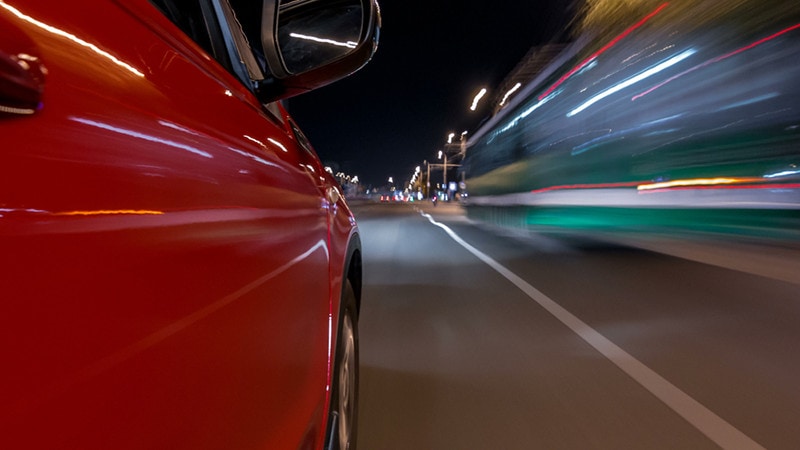
Image Credit: Kirill Neiezhmakov, Shutterstock
What Devices Have GoPro TimeWarp?
Not every GoPro device has TimeWarp capabilities. In fact, most devices don’t have TimeWarp. The only two GoPro devices that currently have TimeWarp capabilities are HERO7 Black and HERO8 Black.
How Does TimeWarp Work?
TimeWarp combines two different GoPro technologies, HyperSmooth and TimeLapse, to create videos that condense long events without cutting out any of the moments.
It’s a full video, not selected moments, so you can see everything without sitting down and watching the entire event.
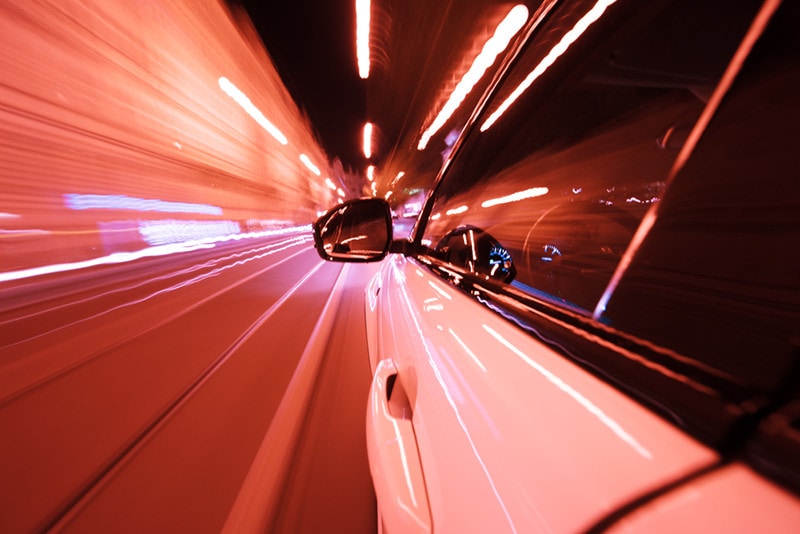
Image Credit: Jag_cz, Shutterstock
TimeWarp Speed Information and Recommendations
When you’re looking at using TimeWarp, there are a few different things that you need to consider. First, you need to look at the length of the video once you finish recording. All you need to do is divide the recording time by the recording speed, and that gives you the final length.
For instance, a 5-minute recording at 10x speed results in a video that’s 30 seconds long. However, if you up the speed to 30x, that same 5-minute video shortens to just 10 seconds.
Finally, you need to look at the best possible recording speed for the event that you’re recording. GoPro put out these recommendations for the following situations:
| Recording Speed | Activity |
| 2x to 5x | Scenic driving |
| 10x | Hiking and exploring |
| 15-30x | Running or biking |
- You don’t miss any moments
- Customizable
- Up to 4k/1080p recording
- Easy to share long events
- Only available on limited GoPro devices
- Hard to notice fine details
Overview of TimeLapse
TimeLapse is a feature that captures still images at set intervals and pieces them all together to create a video. It’s a great way to capture events happening over a long period of time without the need to sit there and watch it in real time.
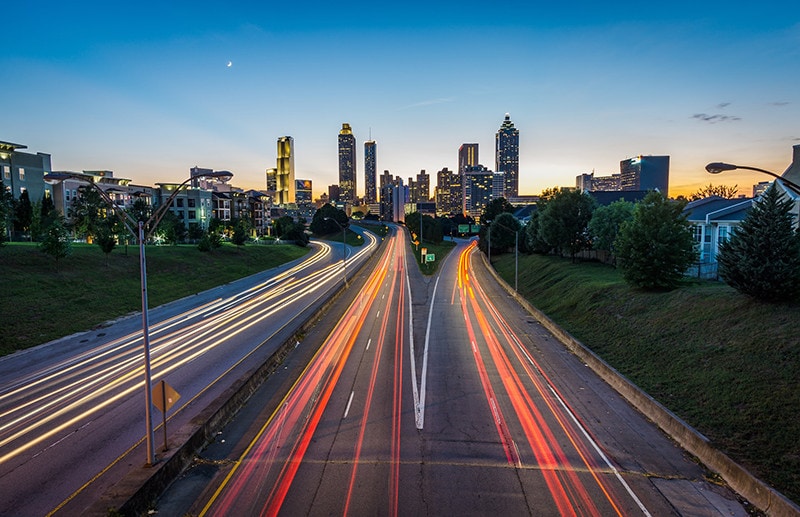
Image Credit: Joey Kyber, Unsplash
What GoPro Devices Have TimeLapse?
GoPro TimeLapse is only on a limited number of devices. The cameras with the feature currently are the HERO8 Black, HERO7 Black, Hero (2018), HERO6 Black, HERO5 Black, HERO5 Session, and the HERO4 cameras.
How Does GoPro TimeLapse Work?
With GoPro TimeLapse, you go into the settings and set the interval option. Then, it records one image at each interval. For instance, with a 0.5-second interval, it takes a picture every half a second. Then, it combines all these images and plays them back at 30 FPS.
A 0.5-second interval translates to 15 seconds of TimeLapse film in just 1 second of playback. You can change the settings to get exactly what you want, but you need to have enough footage to produce at least 1 second of playback with TimeLapse.

Image Credit: Frankie Lopez, Unsplash
Tips for GoPro TimeLapse
If you’re ready to use GoPro TimeLapse, here are a few tips that we recommend for getting the best possible footage.
First, always record more than you think that you’ll need. You can always go back and edit things out, but you can’t create footage if you didn’t record it in the first place.
Second, keep in mind that the time on the LCD device of the GoPro tells you the recorded time length, not how much time has gone by since you started recording.
Third, the recording will only highlight the video footage — you’re not getting individual photographs. While you might be able to edit them out later, it’s going to take more work, and the quality won’t be quite as high.
Finally, keep in mind the battery length when you’re using TimeLapse. Ensure that you have a full charge before you start, and don’t be afraid to hook it up to a charger for long captures.
How to create a GoPro Hero7 Black TimeWarp

TimeWarp may be traditionally linked to jumping to the left and then a bit to the right, but it’s also one of the GoPro Hero7 Blacks significant new features. In this feature, I’ll take a look at how to create a GoPro Hero7 Black TimeWarp.
What is the GoPro TimeWarp feature?
It’s clever, really clever and simplifies a technique that many time-lapse specialists have been perfecting for years. Essentially TimeWarp is a stabilised time-lapse.
The stabilisation smooths out the motion giving a more fluid movement through time. I’ve recently seen a similar effect with the DJI Mavic 2 Pro.
Having received a power boost with the 2GB of internal RAM GoPro has the power to analyse the scene, stabilise and process it to create the TimeWarp footage.
As with GoPro’s Time-Lapse feature, there are a series of options that enable you to adjust the resolution, aspect ratio and speed of the video. Let’s take a look at these options; I’ll also make a few recommendations as we go.
What aspect ratio for GoPro TimeWarp?
As with all other GoPro video options, you have a choice of either 16:9 at 4k or 1080 and 4:3 at 2.7k or 1440.
As a general rule when starting out stick to 4K or 1080p as these will be correct for most video players and your TV. Only use 4:3 if you need a little headroom for cropping the frame later in post-production, or you like the retro feel of the 4:3 format.
What speed should I set my GoPro TimeWarp?
GoPro offers a good selection of speeds for the TimeWarp video, 2x, 5x, 10x, 15x and 30x. These speeds relate to the length of playback compared to the recording time. So for example at 2x, 1 minute of video captured will end up as 30 seconds of video, 5x would see 1 minute produce 10 seconds of footage and so on, here’s the full list:
2x: 1 minute = 30 seconds
5x: 1 minute = 10 seconds
10x: 5 minutes = 30 seconds
15x: 5 minutes = 20 seconds
30x: 5 minutes = 10 seconds
GoPro state that the amount of movement can affect the final playback times, but the above figures should give you a rough guide.
As default, the Speed of the TimeWarp feature is set to 10X as this has been found by GoPro to gain the best results in most cases. However, experiment and check out the effects of each speed to see what it does. Below is a quick example of the the GoPro Hero7 TimeWarp footage alongside TimeLapse footage so you can see the difference.